Easy granny square pattern for beginners
The granny square is the most versatile shape in crochet: make one, and you can turn it into a blanket, a tote, a cushion or a cardigan. This beginner-friendly pattern walks you through every round, with tips for neat corners and colour changes.
- Skill
- Beginner
- Time
- 20 min per square
- Size
- 12 × 12 cm
- Yarn
- DK cotton, 3 colours
- Hook
- 4 mm
- Terms
- US (UK notes)
In this post
This is the classic "solid corners" granny square, worked in clusters of three double crochets. It uses only chains, slip stitches and double crochets, so it is a perfect first project once you can crochet a chain.
What you'll need
| Yarn | DK cotton in 3 colours (about 10 g per square) |
|---|---|
| Hook | 4 mm |
| Tapestry needle | For weaving in ends |
| Scissors | — |
| Blocking mat & pins | Optional, for perfectly square squares |
Abbreviations
This pattern uses US crochet terms. UK equivalents are in brackets.
| Abbreviation | Meaning |
|---|---|
| ch | chain |
| sl st | slip stitch |
| dc | double crochet (UK: treble) |
| sp | space |
| cl | cluster: 3 dc in the same space |
| MR | magic ring |
Step by step
-
Step 1: Start the centre
Make a magic ring, or chain 4 and join with a slip stitch to form a ring.
Step 1 photoPhoto placeholder — add your own -
Step 2: Round 1: four clusters
Chain 3 (counts as your first dc), work 2 dc into the ring, then chain 2. Work three more clusters of 3 dc, each followed by ch 2. Join with a sl st to the top of the first ch-3.
Step 2 photoPhoto placeholder — add your own -
Step 3: Round 2: make the corners
Slip stitch into the first corner space. In every corner space work (cluster, ch 2, cluster). This is what keeps your square square.
TipIf your square starts to cup, your tension is tight — try a hook half a size larger.Step 3 photoPhoto placeholder — add your own -
Step 4: Round 3: corners and sides
Work (cluster, ch 2, cluster) in each corner and a single cluster in each side space between corners. Join at the end of the round.
Step 4 photoPhoto placeholder — add your own -
Step 5: Change colours
Fasten off at the end of a round and join the new colour with a sl st into any corner space. Start the next round with ch 3 as usual.
Step 5 photoPhoto placeholder — add your own -
Step 6: Finish and block
Weave in all ends securely, then pin the square to size on a blocking mat, spray lightly with water and let it dry.
Step 6 photoPhoto placeholder — add your own
The pattern
Rounds (colour A, B, C)
- StartMR or ch 4, sl st to join
- Round 1ch 3, 2 dc in ring, ch 2, (3 dc, ch 2) × 3; sl st to top of ch-3 (4 clusters)
- Round 2sl st to corner sp; ch 3, (2 dc, ch 2, 3 dc) in same sp; (3 dc, ch 2, 3 dc) in each corner; join (8 clusters)
- Round 3(cl, ch 2, cl) in each corner, 1 cl in each side sp; join (12 clusters)
- Round 4as Round 3, with 2 cl along each side (16 clusters)
Each new round adds one cluster to every side. Keep going for a bigger square. © 2026 Little Loop Finds — free for personal use; please link rather than copy.
Common mistakes
The box below contains an Etsy link. If you buy through it, we may earn a small commission at no extra cost to you. Learn more.
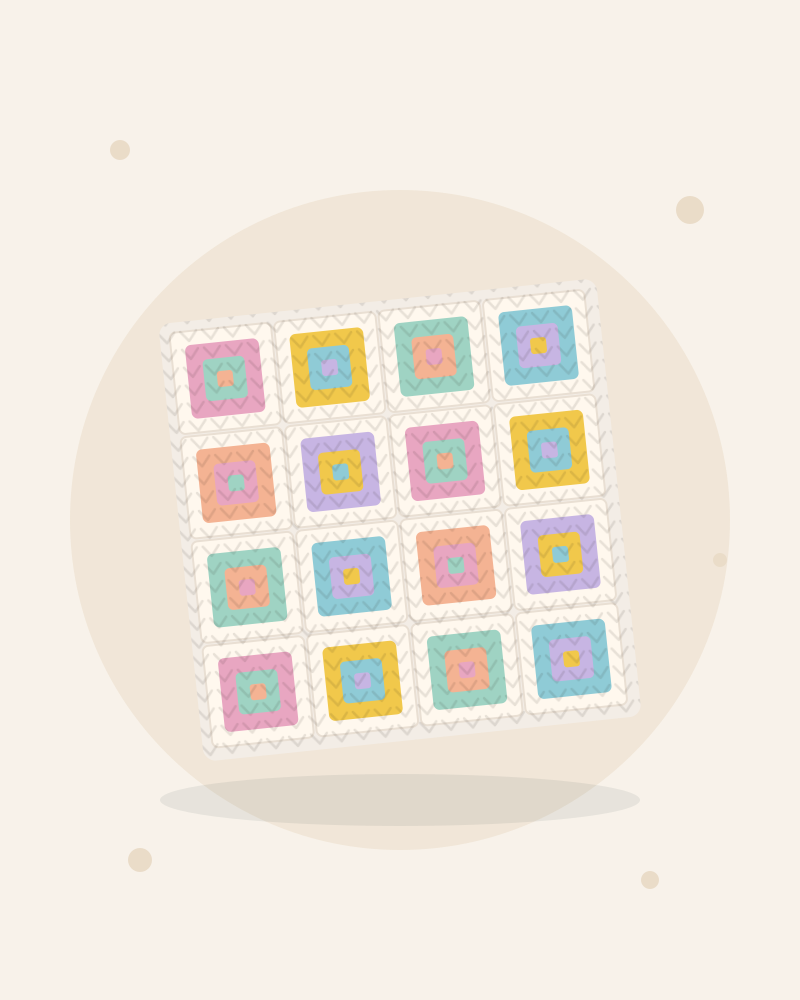
Love the look, not the hours?
A finished granny square blanket takes 40+ hours to make. Here is one handmade by an independent maker.
From ~€160 on Etsy (opens Etsy in a new tab)Frequently asked questions
How many granny squares do I need for a blanket?
For a 120 × 150 cm throw with 12 cm squares, you need 10 × 12.5 — about 130 squares, plus a border.
Why is my granny square twisting?
Turning your work between rounds or working into the wrong space can twist it. Always work with the right side facing.
Which yarn is best for granny squares?
DK cotton gives crisp stitches and washes well. Acrylic is softer and cheaper; wool is warmest.