Free pattern: chunky ribbed beanie
This stretchy, knit-look beanie is worked flat in back-loop single crochet, then seamed and gathered. In super-bulky yarn it takes one evening — and it fits beautifully because the ribbing stretches.
- Skill
- Intermediate
- Time
- 2–3 hours
- Sizes
- Child, Teen, Adult
- Yarn
- Super bulky, ~120 m
- Hook
- 8 mm
- Terms
- US (UK notes)
In this post
Working only in the back loops creates deep, stretchy ribs that look like knitting. The hat is crocheted as a flat rectangle, seamed into a tube and gathered at the top — no increases or decreases to count.
What you'll need
| Yarn | Super bulky (weight 6) wool blend, about 120 m |
|---|---|
| Hook | 8 mm |
| Pom-pom | Faux-fur pom-pom with snap (optional) |
| Tapestry needle | Large-eye, for seaming |
| Gauge | 9 sts × 10 rows = 10 cm in BLO sc |
Abbreviations
This pattern uses US crochet terms. UK equivalents are in brackets.
| Abbreviation | Meaning |
|---|---|
| ch | chain |
| sc | single crochet (UK: double crochet) |
| BLO | back loop only |
| sl st | slip stitch |
| st(s) | stitch(es) |
Step by step
-
Step 1: Check your gauge
Make a small swatch of 12 sts × 12 rows in BLO sc. Measure the middle 10 cm: you want 9 stitches. Adjust your hook size if needed.
Step 1 photoPhoto placeholder — add your own -
Step 2: Chain the height
Chain the number for your size (see the pattern below). This chain becomes the height of the hat, from brim to crown.
Step 2 photoPhoto placeholder — add your own -
Step 3: Work the ribbing
Sc in the second ch from the hook and in every chain. From Row 2, work every sc in the back loop only. Keep going until the piece fits around your head when slightly stretched.
TipCount your stitches every few rows — it is easy to lose one at the row ends.Step 3 photoPhoto placeholder — add your own -
Step 4: Seam into a tube
Fold the rectangle in half with the short edges together and slip-stitch them closed through both layers.
Step 4 photoPhoto placeholder — add your own -
Step 5: Gather the crown
Thread the tail through the end of every row along one edge, pull tight to close the top, and secure with a few stitches.
Step 5 photoPhoto placeholder — add your own -
Step 6: Finish
Fold up the brim, weave in the ends and add a pom-pom if you like.
Step 6 photoPhoto placeholder — add your own
The pattern
Sizes: Child (Teen, Adult)
- Foundationch 21 (24, 27)
- Row 1sc in 2nd ch from hook and in each ch across, turn (20, 23, 26)
- Row 2ch 1, sc BLO in each st across, turn
- Rows 3–44 (48, 54)repeat Row 2
- Seamfold, sl st short edges together
- Crowngather top edge and secure
The hat should measure about 5 cm less than the head circumference before stretching. © 2026 Little Loop Finds — free for personal use; please link rather than copy.
Common mistakes
The box below contains an Etsy link. If you buy through it, we may earn a small commission at no extra cost to you. Learn more.
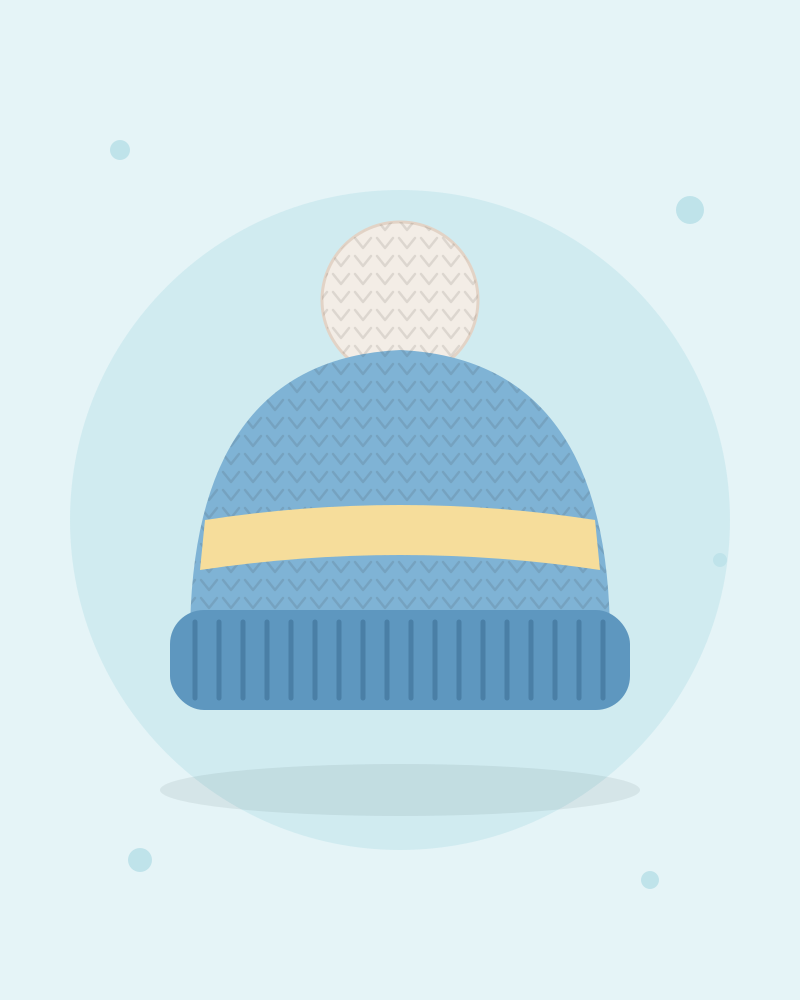
No time to make one?
Get a chunky ribbed beanie handmade by an independent maker instead.
From ~€28 on Etsy (opens Etsy in a new tab)Frequently asked questions
Can I use thinner yarn?
Yes — hold two strands of bulky yarn together, or recalculate the stitch count using your own gauge swatch.
How do I make it slouchy?
Add 4–6 extra foundation chains for more height and gather the crown as usual.
Can I sell hats made from this pattern?
Yes, you can sell the finished hats. Please do not share or sell the pattern itself — link to this page instead.