Crochet pumpkin toilet paper holder pattern
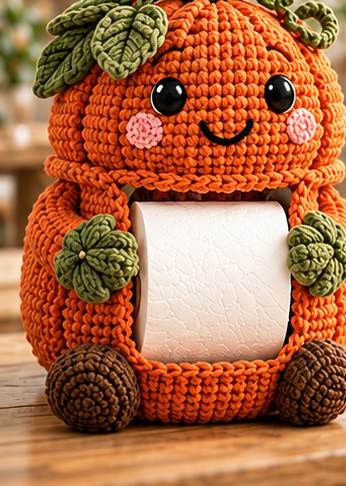
Warm orange, olive leaves, and curly vines make this pumpkin the star of autumn bathroom decor. Its ribbed dome is created with simple strand shaping — no complicated stitches required.
Bathroom collection · Autumn & Halloween
- Finished size
- 20 cm tall × 18 cm wide × 16 cm deep
- Yarn
- Worsted #4, about 308 g
- Hook
- 4.0 mm
- Gauge
- 16 sc × 18 rnds = 10 cm
- Skill
- Beginner to intermediate
- Terms
- US crochet terms
In this post
Finished size & materials
Finished size: 20 cm tall × 18 cm wide × 16 cm deep
| Yarn Color | Approx. Quantity |
|---|---|
| Orange | 210 g |
| Olive green | 55 g |
| Brown | 35 g |
| Blush pink | 8 g |
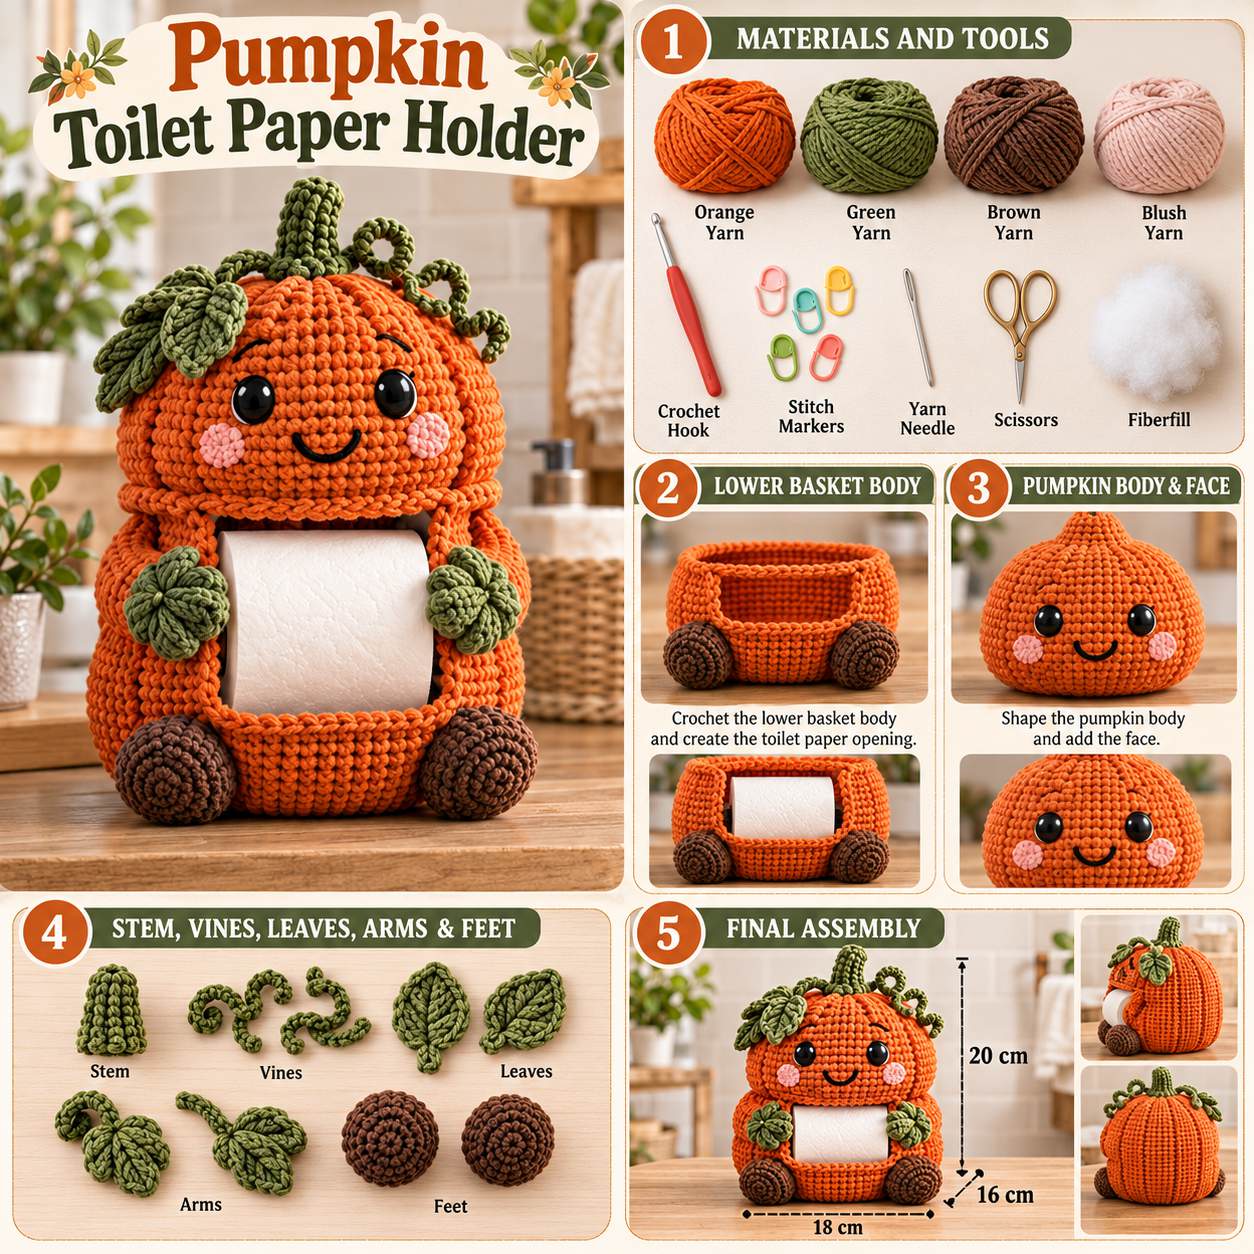
Parts to make: Basket ×1, pumpkin dome ×1, stem ×1, curly vines ×3, leaves ×4, arms ×2, feet ×2, face set ×1.
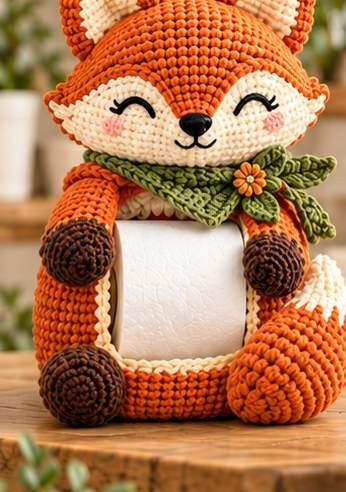
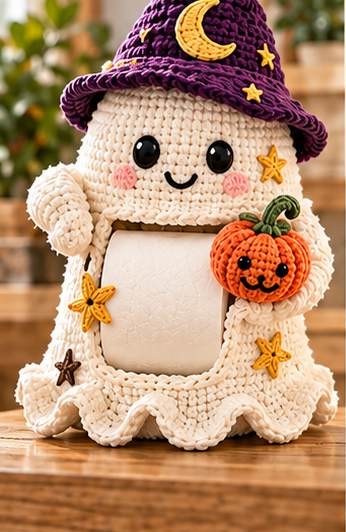
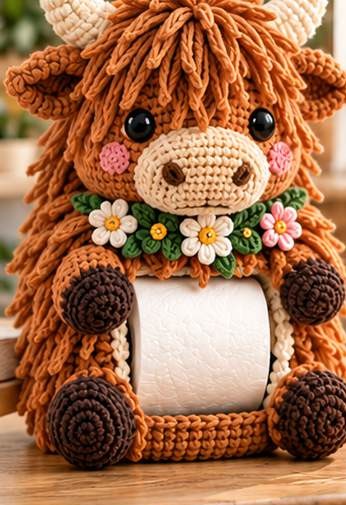
Visual reference
The pattern
-
Step 1: Lower Basket Body and Toilet-Paper Opening
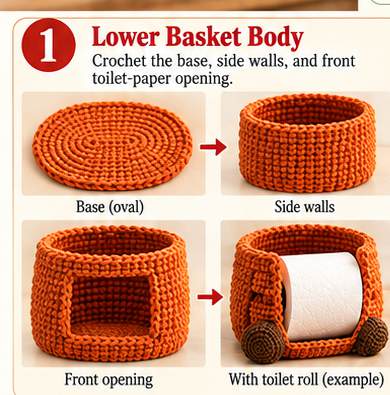
Work the standard 56-stitch basket in orange, exactly as for the Gnome (chain 19 foundation, opening at R13 with ch 22 / skip 22). Finish with a slip-stitch top edge and do the roll fit check.
-
Step 2: Pumpkin Dome, Stem, and Vines
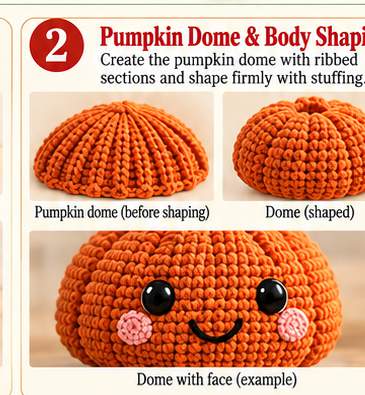
Pumpkin dome (orange): R1 6; R2 12; R3 18; R4 24; R5 30; R6 36; R7 42; R8 48; R9 54; R10–R15 54; R16 (7 sc, dec) ×6 = 48; R17 48. Leave open and stuff lightly.
To form the ribs, cut six 45 cm orange strands. Pass each strand from the top center to the lower edge at equal spacing and pull gently to create six ribs.
Stem (green): R1 6; R2 9; R3–R8 9. Stuff lightly and FO with a tail. Finished length 5–6 cm.
Curly vines (make 3): Ch 24; work 3 sc in each chain back to the start. The strip curls naturally. FO, leaving a 10 cm tail.
-
Step 3: Leaves, Arms, and Feet
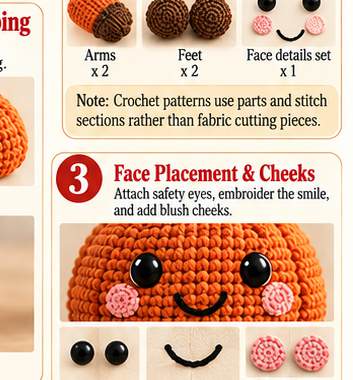
- Leaves (make 4): Ch 10. Working around the chain: sl st, sc, hdc, dc, tr, dc, hdc, sc, sl st; work the same sequence along the opposite side. Sl st to close and FO. Optionally surface-stitch a center vein.
- Arms ×2 (orange): 12 sc circumference × 9 rounds. Add a green leaf-like cuff if desired.
- Feet ×2 (brown): 18-stitch oval/sphere, 5–6 rounds, lightly stuffed.
-
Step 4: Final Assembly
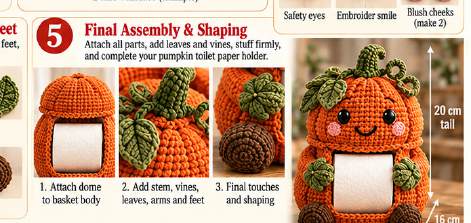
Sew the pumpkin dome to the basket top. Attach the stem at the top center and distribute the vines and leaves. Sew the eyes 8–9 stitches apart, embroider the smile, and add blush circles. Attach the arms at the upper corners and the feet at the lower corners. Shape the ribs evenly before final knotting.
Finishing & quality check
Use this same finishing order for every design in the collection:
- Block and shape the empty basket, and verify the roll opening.
- Attach the major head/top section, centered over the opening.
- Pin paired parts first; compare them from the front and side before sewing.
- Sew accessories and decorative parts only after the structural seams are secure.
- Insert the roll, adjust the shaping, weave in all tails, and perform the final size check.
Final quality checklist — before you call it done:
- Roll slides in and out freely
- Holder stands without tipping
- Paired parts are symmetrical
- No stuffing is visible
- All yarn tails are buried
- Eyes and decorations are secure
- Finished dimensions are within about 1 cm of target
Care & placement
- Place finished holders on a dry shelf or floor position beside the toilet.
- Keep them away from direct moisture, shower spray, wet floors, and sink splashes.
- Leave the roll opening unobstructed.
- Spot clean only. Reshape while damp and air dry completely.
- Hide all yarn tails inside the work, and reinforce load-bearing attachment points.
- For child-accessible decor, embroider eyes instead of using removable small parts.
The box below contains an Etsy link. If you buy through it, we may earn a small commission at no extra cost to you. Learn more.
No time to crochet one?
Find a handmade pumpkin toilet paper holder from independent makers on Etsy.
Browse on Etsy (opens Etsy in a new tab)